Sorry to keep you all in such anticipation to see the jacket, but I'm fighting the influenza virus and can barely move from the couch. I'm on the downward slope now, though, so hopefully before the weekend!
Tuesday, December 13, 2011
Friday, December 9, 2011
2 projects' progress
My tweedy jacket is finished! I completed all the little hand-sewing bits this morning and just need to give it a good pressing before modeling.

Here is my next project, because I'm incapable of finishing one project without having the next one half-complete already!

Wednesday, December 7, 2011
Buttons on my tweed jacket
My buttons came (yippee!!) and I got them on my jacket. I'm still dawdling with a little hand finishing, but I'm almost there!

Monday, December 5, 2011
Blue Gathered-neck top


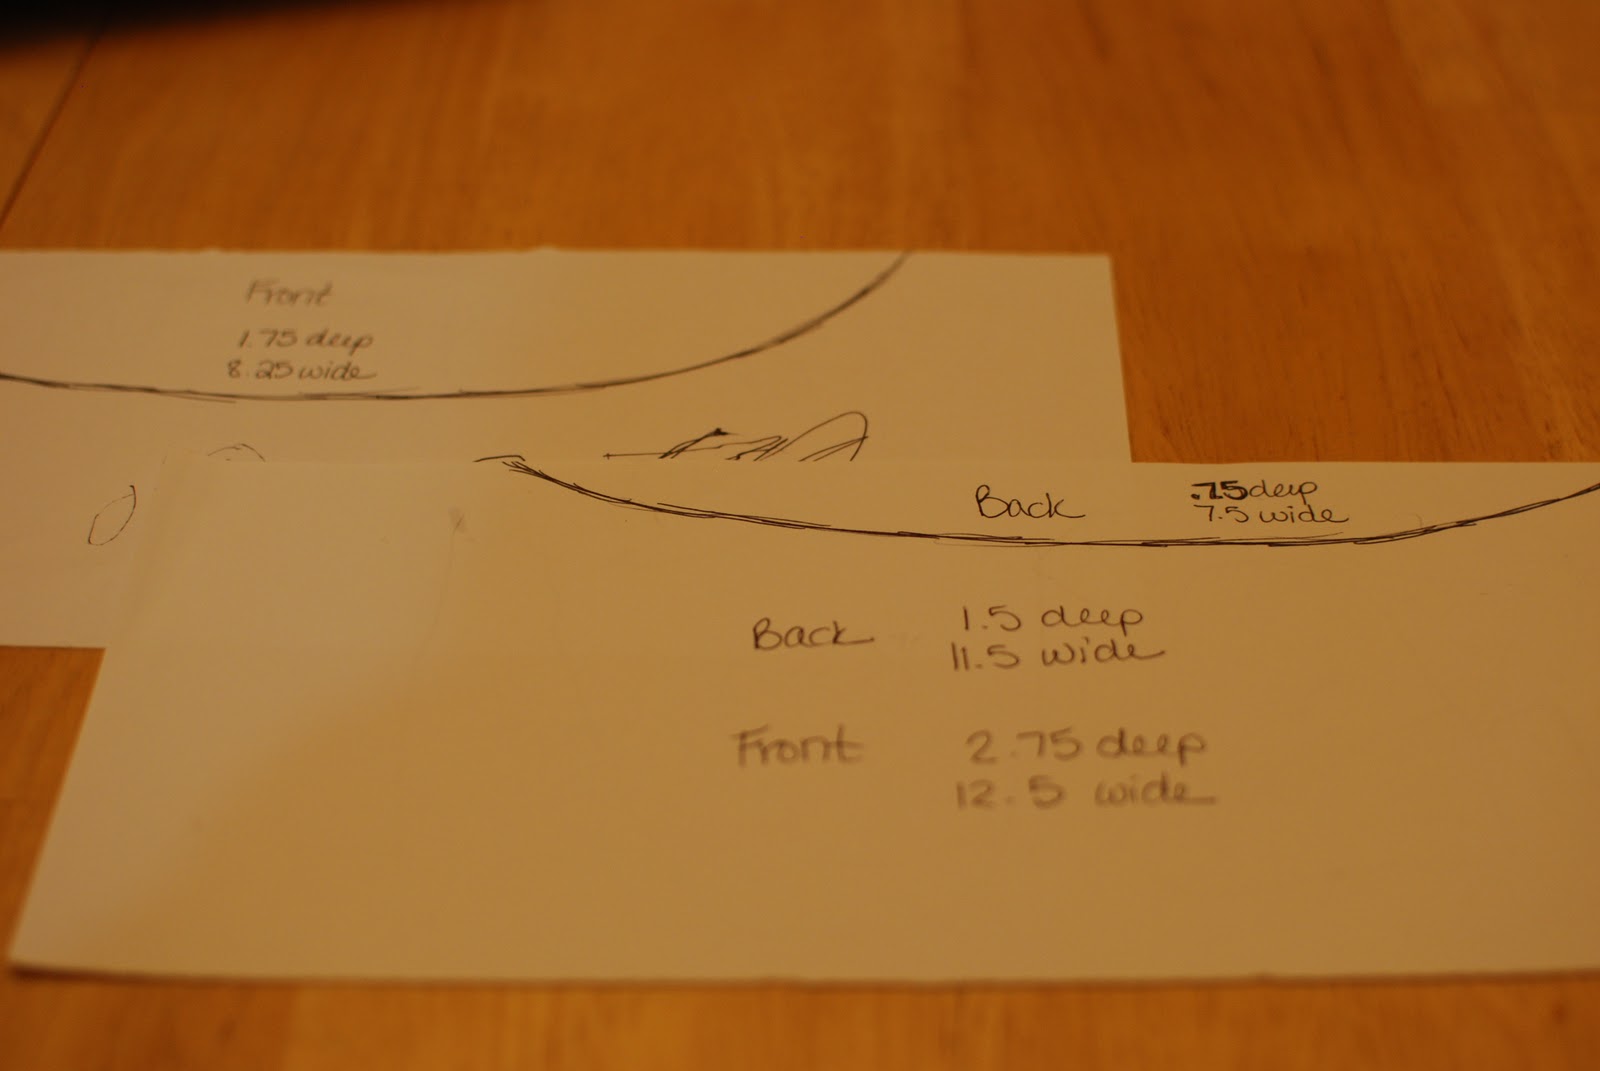
I started by stitching together a raglan-seamed tee and then traced the front and back necklines on plain paper.


Finally, I turned the binding all the way to the inside and invisibly hand-sewed it to the inside.
The only thing I would do differently next time is use a light interfacing on the neck edge that is covered by the overlay. It is fine and stays put as is, but it would be crisper with some light knit interfacing. I'm very happy with how this turned out, and it will look great under my almost-finished jacket.
Saturday, December 3, 2011
Leapster Storage Pouch Tutorial
I just finished up two Leapster 2 covers for my boys for Christmas.

I'm so excited to have made them a present I think they'll enjoy. :-) I realize this is really a niche craft, but if you are interested, here's a little tutorial about how I made it.
Materials needed - you could make this from two fat quarters for fabric, one for the main fabric and one for the lining.
Main Fabric - cut 2 rectangles 7"x10" for front and back
cut 1 rectangle 4"x6" for pocket
save scraps for zipper ends
Lining Fabric - cut 2 rectangles 7"x10" for front lining and back lining
cut 1 rectangle 4"x6" for pocket lining
optional scrap for embellishment
Fusible fleece - cut 4 rectanges 7"x10" for interfacing/padding
cut 1 rectangle 4"x6" for pocket padding
2 zippers - one at least 4" and one at least 8"
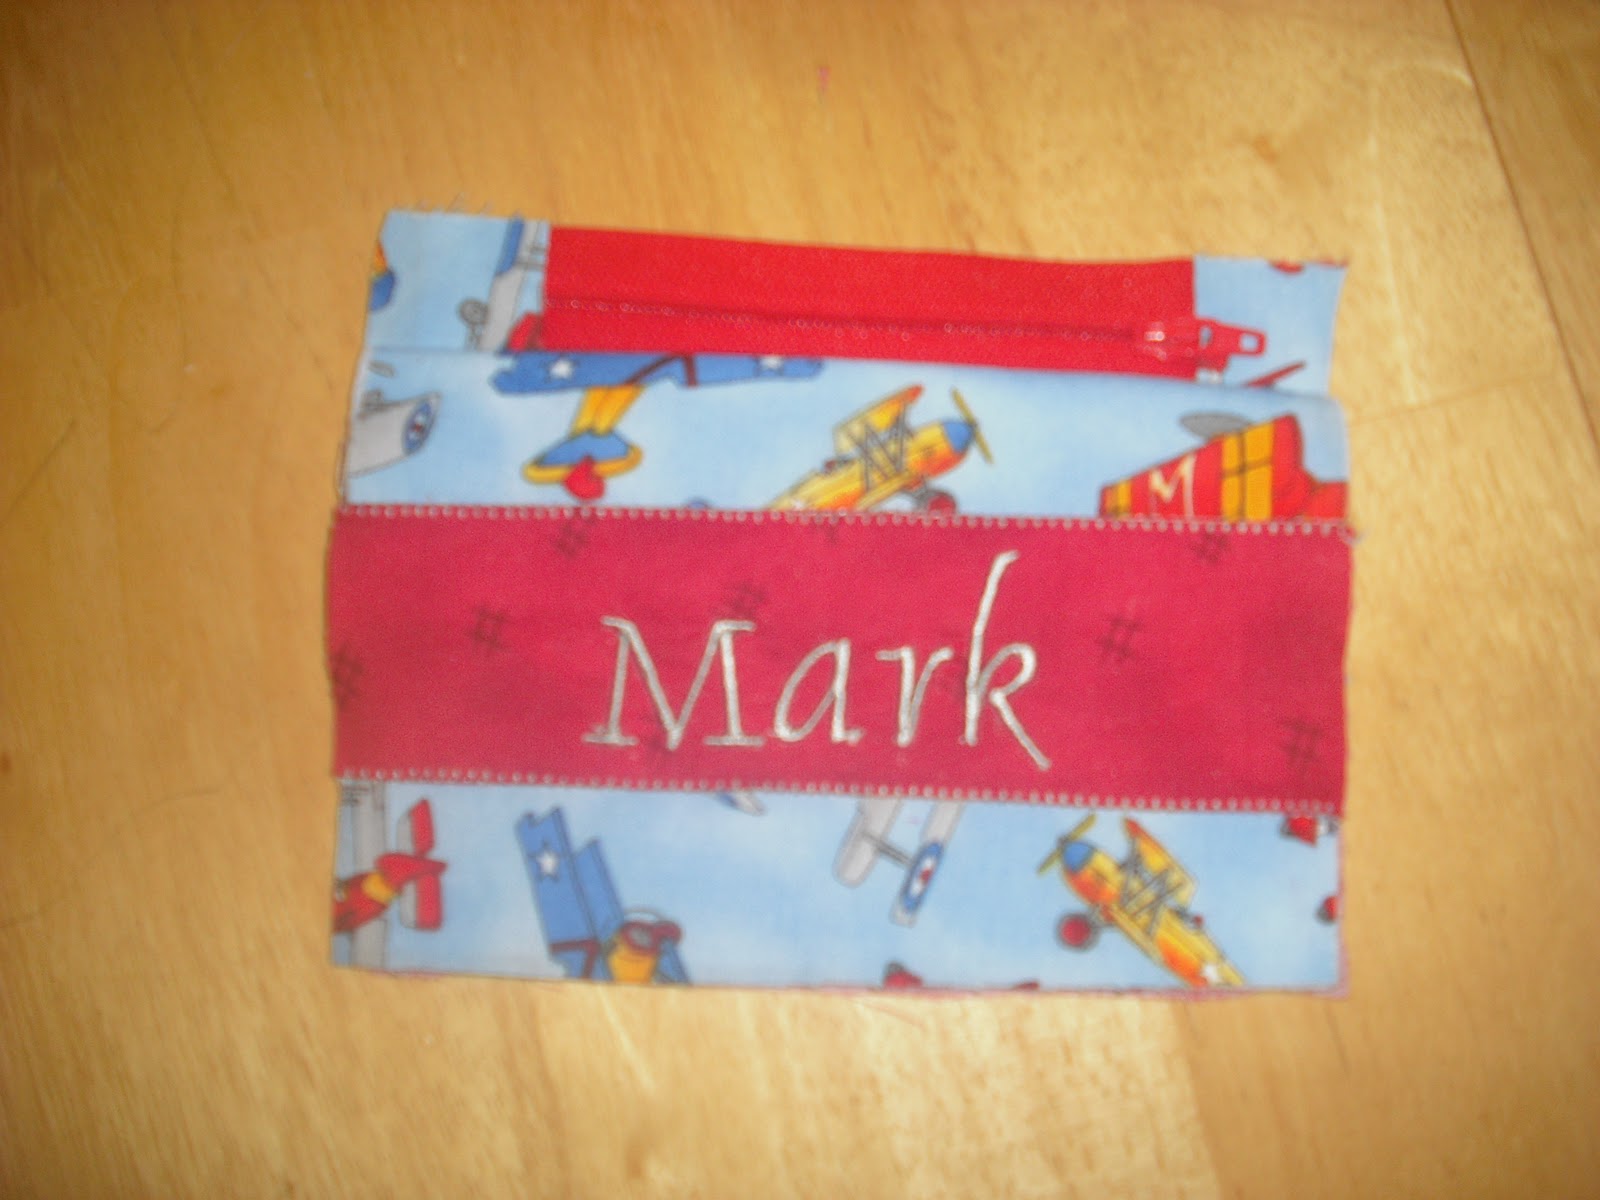
1. If desired, add embellishment to scrap fabric. I used my embroidery machine to put my boys' names on theirs so they can tell them apart easily.
2. Fuse 4x6 fusible fleece to pocket fabric. Add embellishment to pocket as desired. I used a blanket stitch to secure my name strip.

3. Use scraps to finish the edges of your short zipper. Put one fabric scrap, right-sides together, on the zipper top. Stitch right below the zipper stop, as shown.
 4. Hold the zipper to the pocket to mark where the bottom strip goes to keep the zipper centered.
 5. Add the bottom fabric strip in the same manner as the top.
 6. Press zipper end strips and trim even with long zipper edges.
7. Place your pocket layers as shown - lining at the top, zipper, and pocket. Flip the zipper down on the top of the pocket, and then flip down the lining.
 There are three layers - from top to bottom, it's lining (face down), zipper (face down) and pocket (face up). Line up raw edges at the top and stitch through all layers.
 8. Press pocket and lining down and away from zipper.
 9. Fuse fusible fleece on to main pouch pieces and lining pieces.
10. Position pocket on one main pouch piece, one inch from the bottom and centered horizontally.
 Flip up the pocket at the zipper and make sure it is centered horizontally. Pin zipper in place and stitch, keeping 1/2" at either end free.

 11. Flip pocket down and press. Tuck edges of pocket under all the way around and pin in place. Edge stitch twice around thre sides.
 The pocket is now complete to hold the game cartidges!
 12. To assemble the main pouch, first finish the edges of the large zipper in the same manner you finished the pocket zipper.
 13. Refer to step 7 to attatch the zipper to the pouch piece with the pocket and one lining piece.
 Sandwich lining, zipper, and main pouch piece.
 14. Make the same sandwich with the remaining side of the zipper and the remaining pouch and lining pieces.
 Here is the lining side.
 15. Make sure your zipper is open. Fold the flaps so that the main pouch pieces match up right sides together and so do the lining pieces.
 16. Pin together around the edges, leaving a large hole at the bottom of the lining. Squoosh the zipper ends toward the lining.
 17. Stitch the whole way around, leaving that large hole in the lining.
 18. Turn the whole thing right side out but leave the lining out.
 19. Fold the raw edges at the hole in the lining to the inside. Pin and stitch. You are welcome to stitch invisibly by hand, but I just run it through the machine like that.
 20. Push the lining inside and that's it!

This will hold the video game and about four game cartriges - perfect for a plane ride, car trip, or just keeping everything together around the house.
 I realize these photos aren't the best, but I'm sure you understand needing to work on these gifts at night! :-)
 I did get a lot of construction ideas from other pouches and bag patterns I have both purchased and seen for free online through the years. All of the techniques that I used, I've seen in multiple patterns, so I assume they are nothing new and I'm not giving away any secrets.

I'm so excited to have made them a present I think they'll enjoy. :-) I realize this is really a niche craft, but if you are interested, here's a little tutorial about how I made it.
Materials needed - you could make this from two fat quarters for fabric, one for the main fabric and one for the lining.
Main Fabric - cut 2 rectangles 7"x10" for front and back
cut 1 rectangle 4"x6" for pocket
save scraps for zipper ends
Lining Fabric - cut 2 rectangles 7"x10" for front lining and back lining
cut 1 rectangle 4"x6" for pocket lining
optional scrap for embellishment
Fusible fleece - cut 4 rectanges 7"x10" for interfacing/padding
cut 1 rectangle 4"x6" for pocket padding
2 zippers - one at least 4" and one at least 8"
1. If desired, add embellishment to scrap fabric. I used my embroidery machine to put my boys' names on theirs so they can tell them apart easily.
2. Fuse 4x6 fusible fleece to pocket fabric. Add embellishment to pocket as desired. I used a blanket stitch to secure my name strip.

3. Use scraps to finish the edges of your short zipper. Put one fabric scrap, right-sides together, on the zipper top. Stitch right below the zipper stop, as shown.


7. Place your pocket layers as shown - lining at the top, zipper, and pocket. Flip the zipper down on the top of the pocket, and then flip down the lining.


10. Position pocket on one main pouch piece, one inch from the bottom and centered horizontally.


Tuesday, November 29, 2011
Happy Belated Thanksgiving!
I'm late on the bandwagon, as always, but Happy Thanksgiving to all! I made this little table c over for the festivities and was super excited to plant flowers in pumpkins for the first time (it's the little things, right?).

 I like how the author recommended using wool for some appliques to add dimension. I'll definitely be making more from this book!


This was my first real applique project. You all know I sew mostly clothing, but I'm trying to get a little craftier. The pattern is from a book A Fresh Look at Seasonal Quilts by Julie Popa. It's actually on the cover. I used my embroidery machine for the words.


Wednesday, November 9, 2011
Striped tee on me!
Here is my new striped top mentioned here. The pattern I used to start was my usual out of print Butterick 3344. I added the sleeve tabs and buttoned neck treatment myself. I also had a couple more inches taken off of my hair. :-)


Monday, November 7, 2011
Striped tee finished
I finished up the striped top I mentioned here. The fabric is Ines from Sawyer Brook, and it is a dream. I'm glad I have enough left for a tank top... or maybe something for my little niece. It's time she learned the necessity of the striped tee. The buttons are Ruffle, also from Sawyer Brook. I'll take photos on myself when I wear it tomorrow, but for now, here it is.


Saturday, November 5, 2011
McCalls 5759 progress
I haven't stopped work on McCalls 5759. Just procrastinated a bit because I decided to put actual welt pockets under the pocket flaps provided in the pattern. I finished up both the welts and the flaps today, so next comes the sleeves and then the shell will be finished. Of course, I plan to add buttons to the sleeve cuffs, so that would go super fast either.


The inside of the pockets. Looks pretty messy, but it works.


With flaps:

Subscribe to:
Posts (Atom)