Forward

I have moved! Please check out my newest creativity at www.southshorehandmade.blogspot.com.

Saturday, November 17, 2012

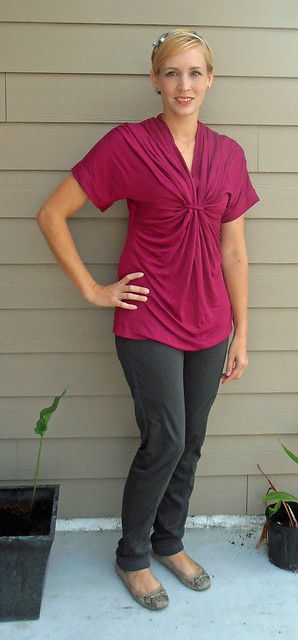
Simplicity 2181

Thanks so much for the comments on my red sweater.  That was a real labor of love, and I'm so happy with how it turned out. 

Today, I'm going to share a top I made about a week ago for a little break from my cranberry jacket.  I really want to finish that jacket up before I leave for a short Thanksgiving vacay in a few days.  All it needs is buttons and a couple of buttonholes.

This is Simplicity 2181, which I made once before here.
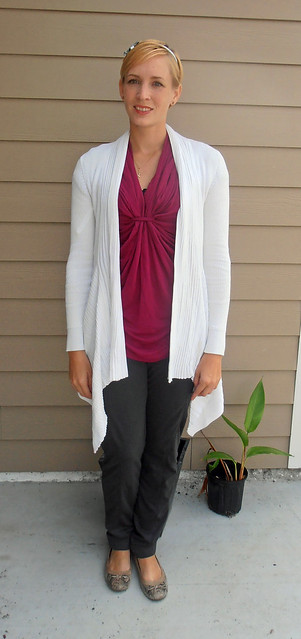
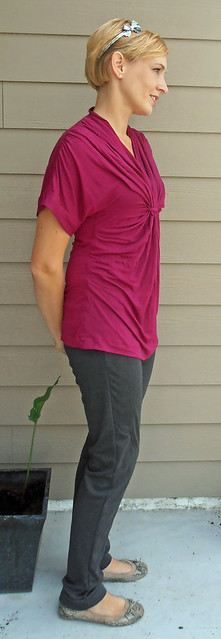
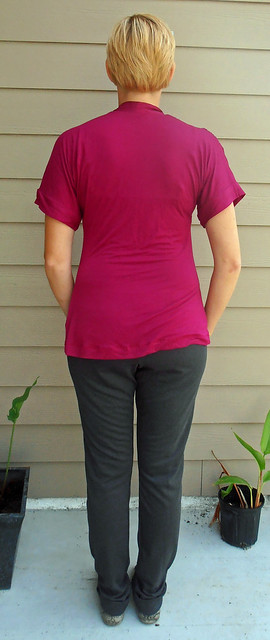
I love how this one turned out, also, but I wonder if I should shorten it a few inches.  It's giving off a bit of a sloppy vibe here to me, maybe because it's paired with the slouchy knit pants (also recently sewn, which I'll explain in my next post)
Maybe the solution is to try it with some skinny jeans today and see what I think.  If I still don't love the length then, time for a chop.  What do you think?
Of course, skinny jeans seems to be my go-to for unfrumpying my comfiest tops.  :-)
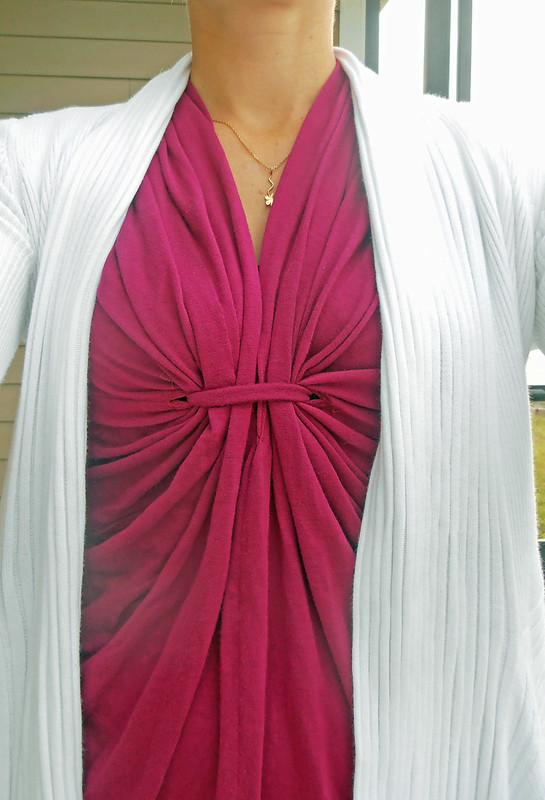
Here is a closeup of the front detail.  The fabric is Magenta Magic from Sawyer Brook.  I love when I make this top how it all comes together in one step when you put in that little strip to make the fabric bunch up.  I still think this is a great pattern for a really fluid jersey. 
The only change I made was to give my hips a bit more room, probably about two inches total.  If you recall, on the last version, I hemmed it a bit shorter because the hip area was tight.
 

Tuesday, November 13, 2012

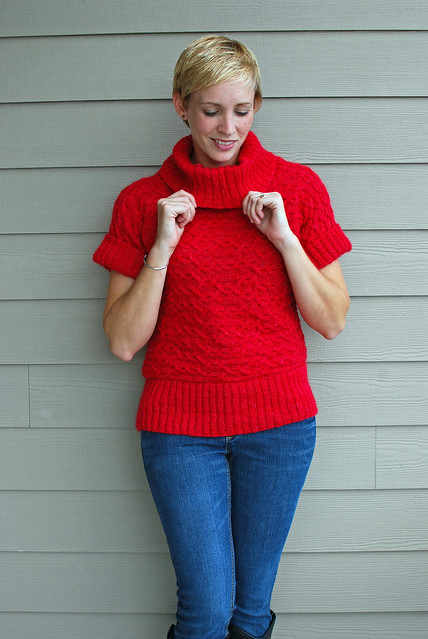
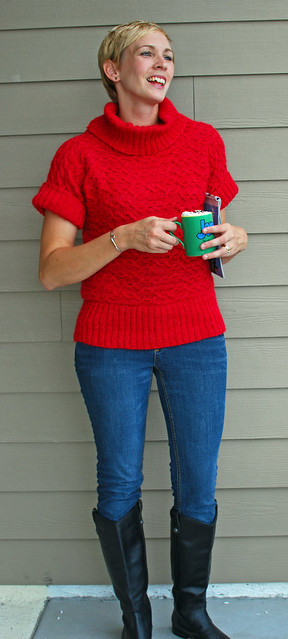
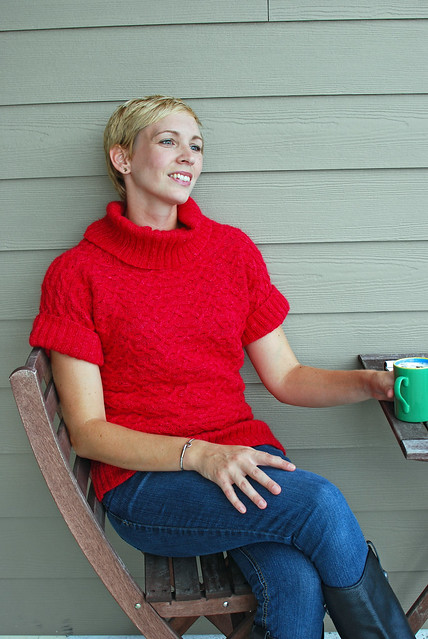
Red Sweater

This sweater was a long time in the making.  I had the vision last fall sometime and then had to work out the cable chart.  Then, the knitting took awhile, including what seemed like yards of ribbing.  Finally, I cast off only to decide the ribbing at the neckline wasn't long enough, so it sat around for a month or so until I worked up the desire to rip out and rib some more. 

THEN, I got the genius idea to try to submit the pattern to Knitty, but about 1/3 of the way through writing up the pattern, I decided, um, no, but I did try to take halfway decent photos.

The yarn is a Noro Maiko that I got at a LYS near my parents' house, Kitnit.  I don't know if I've mentioned them before, but I LOVE that yarn store.  :-)  Such great yarn and a nice, calm atmosphere.

Here is the page on Ravelry.

Thursday, November 1, 2012

Pirate Vest

This is the first  year I've sewn something for one of my boys for Halloween.  I'm just not a big Halloween-loving person.  (Last year, I did sew Tinkerbell for myself.) 
 
My little guy wanted to be Jake the Neverland Pirate (from Disney Junior).  You can buy costumes for this character, but it's so easy to recreate without any polyester!  Jeans, a white tee with a slit at the neck, and a vest whipped up from stash fabrics.  I self-lined it, so there are no raw edges exposed at seams.  I matched up all the raw edges and covered them with yellow bias tape (also from stash fabric).  The boots are adult pirate costume boot covers that I resized with a few snips and zips through the sewing machine.  A strip of red fabric for the head, and a store-bought sword complete the look.
 
My ninja's outfit is polyester, courtesy of Target.  :-)

Saturday, October 27, 2012

Starflower Hat

Update on the Mystery Hat I posted about in August!  It's called Starflower Hat and is in the book Textured Knits by Connie Chang Chinchio.


Friday, October 26, 2012

Cuffs for Lady Grey

The original Lady Grey pattern has wide 3/4 length sleeves which I used for my first version.  I decided for this one, though, I wanted long sleeves.  Then, I decided to add some little cuffs for detail.  I added about three inches to the length of the sleeves and then added a little self-lined rectangular piece, overlapped with buttonholes.
 I topppstitched on the sleeve, and I like how the cuff appears to ever-so-slightly gather in the sleeve. 
 Here is my overall progress so far:

Tuesday, October 23, 2012

Interfacing my Jacket

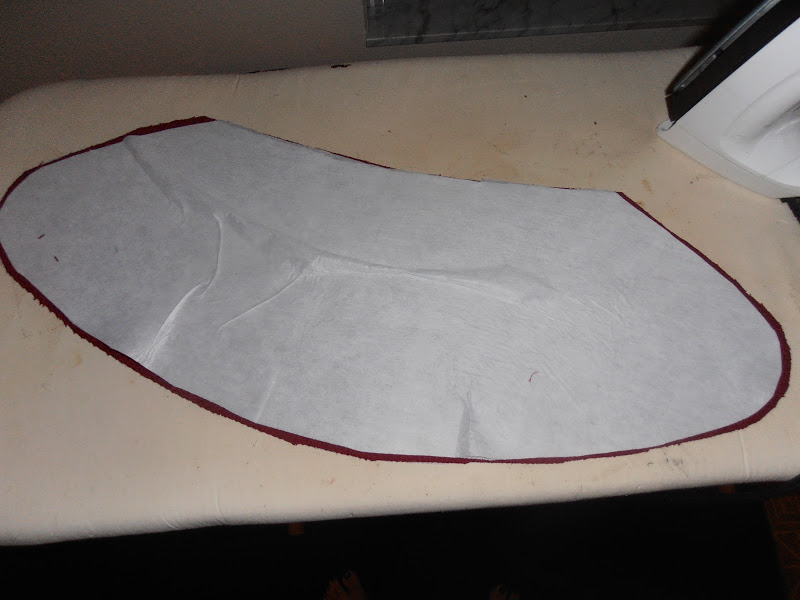
On my new Lady Grey jacket, I used an allover fusible stabilizer, Gridweft, on my loosely woven fabric.  This is working great to keep the fabric from sagging, and it gives the jacket a bit of structure, but for the areas of a jacket that are typically interfaced, it is not enough.  For those areas, I'm using an additional midweight fusible.  Rather than cut all the individual pieces (back, fronts, side backs and fronts, and different sleeve pieces), I cut the interfacing after constructing most of my shell. 

The upper back was the easiest piece, cut straight across at about the armholes.
 
 The fronts required a bit more finesse since I needed to consider the roll line of the lapels.  I fused my pieces up to the roll line...

...then flipped the lapel back and fused that area, allowing the interfacing to fold around the roll line.

Here it is all fixed.  Certainly not couture techniques, but I'm ok with that. :-)

I also cut pieces for the upper sleeves, just to make sure they don't collapse under the shoulder pads later.

For the undercollar, I used the same basic premise as the lapel roll line to mould my neck shape.
 After the interfacing was fused, I trimmed off 1/8th inch around the edge of the undercollar.
 You can see how the undercollar is now a smidge smaller than the upper collar piece (cut from the same pattern piece originally)
 After it is pinned and sewn up, though...
 ... the seam lays nicely on the undercollar side.

Sunday, October 21, 2012

Getting started on my jacket

Today, I got started on my Colette Patterns Lady Grey.  Not much to show yet, but look how pretty the fabric is!
 
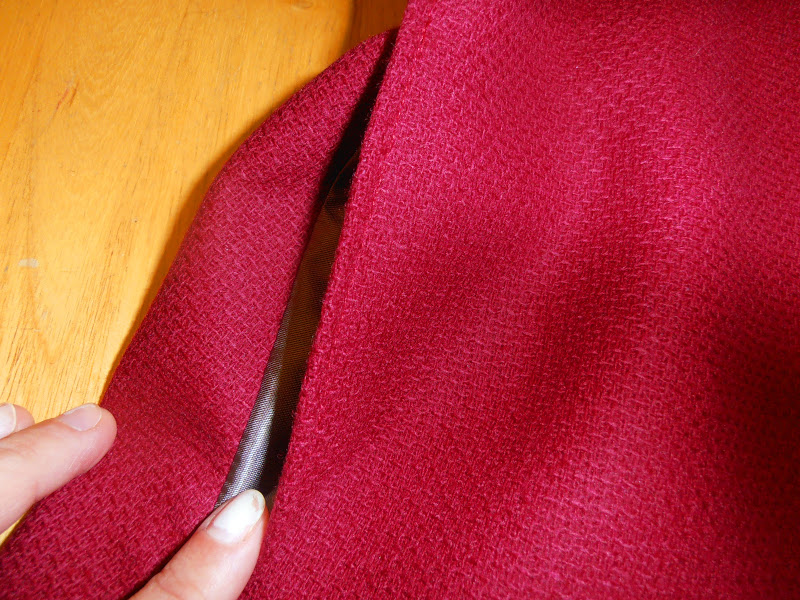
I got as far as assembling the shell (no sleeves yet) with the pockets - here you can see the gray lining.