Update on the Mystery Hat I posted about in August! It's called Starflower Hat and is in the book Textured Knits by Connie Chang Chinchio.
Saturday, October 27, 2012
Friday, October 26, 2012
Cuffs for Lady Grey
The original Lady Grey pattern has wide 3/4 length sleeves which I used for my first version. I decided for this one, though, I wanted long sleeves. Then, I decided to add some little cuffs for detail. I added about three inches to the length of the sleeves and then added a little self-lined rectangular piece, overlapped with buttonholes.
I topppstitched on the sleeve, and I like how the cuff appears to ever-so-slightly gather in the sleeve. Here is my overall progress so far:
Tuesday, October 23, 2012
Interfacing my Jacket
On my new Lady Grey jacket, I used an allover fusible stabilizer, Gridweft, on my loosely woven fabric. This is working great to keep the fabric from sagging, and it gives the jacket a bit of structure, but for the areas of a jacket that are typically interfaced, it is not enough. For those areas, I'm using an additional midweight fusible. Rather than cut all the individual pieces (back, fronts, side backs and fronts, and different sleeve pieces), I cut the interfacing after constructing most of my shell.
The fronts required a bit more finesse since I needed to consider the roll line of the lapels. I fused my pieces up to the roll line...
...then flipped the lapel back and fused that area, allowing the interfacing to fold around the roll line.
Here it is all fixed. Certainly not couture techniques, but I'm ok with that. :-)
I also cut pieces for the upper sleeves, just to make sure they don't collapse under the shoulder pads later.
For the undercollar, I used the same basic premise as the lapel roll line to mould my neck shape.
After the interfacing was fused, I trimmed off 1/8th inch around the edge of the undercollar.
You can see how the undercollar is now a smidge smaller than the upper collar piece (cut from the same pattern piece originally)
After it is pinned and sewn up, though...
... the seam lays nicely on the undercollar side.
Sunday, October 21, 2012
Getting started on my jacket
Today, I got started on my Colette Patterns Lady Grey. Not much to show yet, but look how pretty the fabric is!
I got as far as assembling the shell (no sleeves yet) with the pockets - here you can see the gray lining.
Wednesday, October 17, 2012
Colette Lady Grey Muslin
I purchased my first Colette pattern a couple of months ago, and I am very pleased! I chose to try out the Lady Grey jacket pattern, which is a really fun retro-look style with a large collar, swingy hem, and wide 3/4 sleeves.
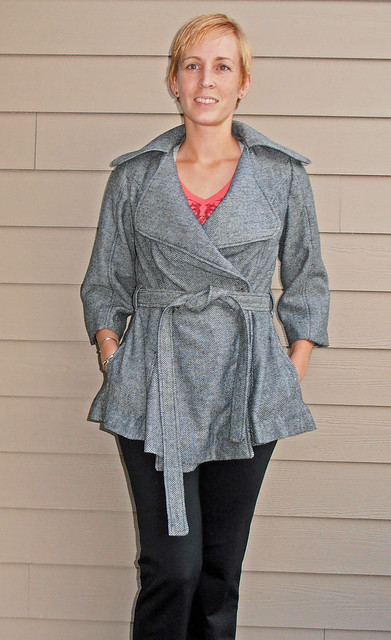
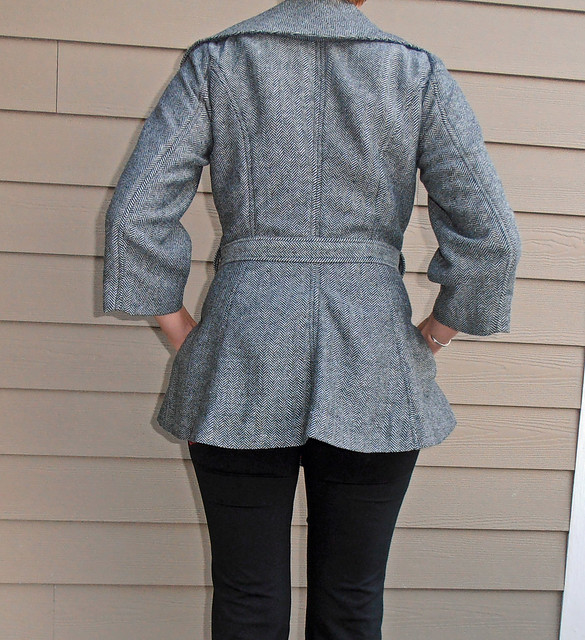
I made up a muslin, of sorts. I used a JoAnn's wool blend suiting fabric that I'd bought pretty inexpensively a year or two ago. I really like the fabric but wasn't sure what I'd ever use it for (naughty Jenny for buying it in the first place), so it became the muslin. I liked the result so much that I lined it and finished it, and now I have a lovely gray herringbone model:
The fabrics I'm using for the final version are from Sawyer Brook:
Cranapple for the shell
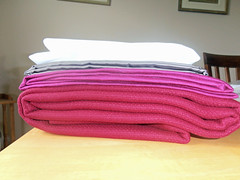
Here are all the fabrics on my table. Woohoo!
I made up a muslin, of sorts. I used a JoAnn's wool blend suiting fabric that I'd bought pretty inexpensively a year or two ago. I really like the fabric but wasn't sure what I'd ever use it for (naughty Jenny for buying it in the first place), so it became the muslin. I liked the result so much that I lined it and finished it, and now I have a lovely gray herringbone model:
Oh my, please excuse the post-yoga photo shoot.
My final version will have a less flared hem and long, less-full sleeves. I guess you could argue I'm taking all of the style out of it, but I don't really need two of this identical, distinctive style. I will keep the collar the same proportions, but I will use stiffer interfacing for the second version for more of a stand-up style.The fabrics I'm using for the final version are from Sawyer Brook:
Cranapple for the shell
Squire for the lining
Gridweft for block fusing stability
I also got some coordinating rayon jersey for a fun top - Magenta Magic
Here are all the fabrics on my table. Woohoo!
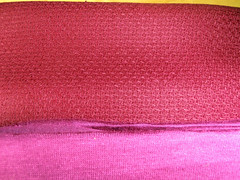
The jacket fabric and the jersey:
Tuesday, October 16, 2012
Baby Quilt
Ok, I am ready to commit to being back for real. :-) I have definitely missed this over my lazy unintended hiatus. There is a nice backlog of projects to post that should let me remain pretty lazy for a couple more weeks.
First up, here is a the quilt I made for my brand new niece (four days old today). I've blogged before about the snuggly quilts my mom made for each of my boys and all my sisters' kids. I wanted to try something similar for the new member (my husband's brother's and his wife's first!).
I was definitely excited to create for a girl. :-)
This is the quilt top, and sadly I forgot to take a photo of the finished product or any closeups. It is safely in Michigan with the recipient now.
Maybe you recall the applique style from a post a while back (seriously? almost 6 months ago?). I made it into a little iPad case with several layers of batting. I hand-appliqued the iPad cover, but I did the quilt with fusible web and decorative machine blanket stiches.


